|
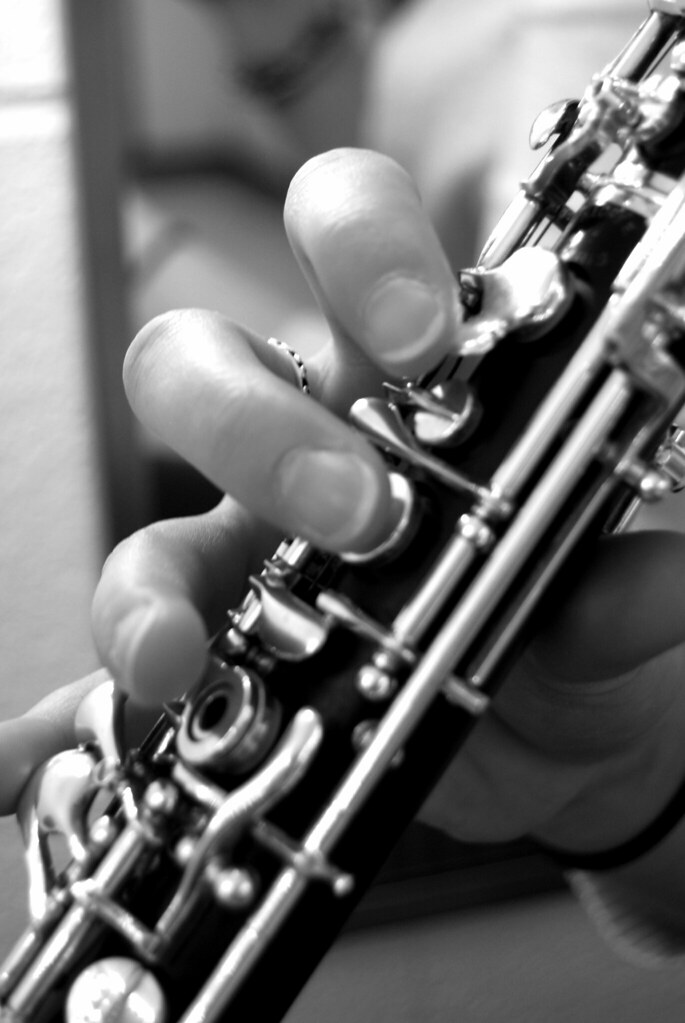
| An oboe (Photo credit: Wikipedia) |
For a beginner oboe player, the first step in the learning process is a rather obvious one, - to purchase an instrument to play on. There are a number of issues to consider in making the ideal choice. These could probably be divided into three main issues; - the type of instrument, the cost of the instrument and the make of instrument.
THE TYPE OF INSTRUMENT: There are two main fingering systems for the oboe. These are the "Thumb-Plate System" and the "Conservatoire System". Most of the fingerings are identical but there are just a few differences around the C & Bb fingerings in the middle of the instrument. I am not going to go into further detail over this here. Your best bet is to consult a player who will be able to demonstrate the two systems. In the UK the vast majority of players use the Thumb-plate system whereas on the Continent of Europe most use the Conservatoire. Each country tends to have its own 'school' of oboe playing which will focus on one or other of the systems. Ultimately, it doesn't really matter as both systems have their strengths and weaknesses. You will find that people who play on the Conservatoire system claim that it is the better one and those who play on the Thumb-plate make a similar claim. If you are having lessons with a teacher let he/she guide you.
Some of the popular professional oboes now have a combined system which incorporates both finger systems on the one instrument. If you are a beginner oboe player, you are highly unlikely to be playing on such an oboe.
There is also the issue of the instrument quality to take into consideration. Some of the pointers here will be covered by the sections below, but there are different levels of instrument, i.e. - student models, intermediate models and full professional models. The difference between the cheapest of these and the most expensive runs into thousands of pounds/dollars.
THE COST OF THE OBOE: This is a tricky one as the Oboe is significantly more expensive than either the flute or clarinet. Instruments in the UK range in price from around Pound 1000 for a good student instrument to about Pound 7000 for a professional instrument. Always go to a reputable oboe or woodwind specialist to purchase an instrument and not just go for the cheapest oboe you can find on eBay or you are likely to end up with an instrument of highly dubious quality. The oboe is demanding enough to play even when you have a good instrument. If your oboe is poorly made it will be a nightmare to play.
Many of the specialist retailers will have hire schemes of one kind or another which will allow you to try out an oboe for a trial period before making the final purchase. Until you start to play you can never be sure whether you will take to the instrument or not. There will also be financial arrangements to allow you to spread the cost. Schemes such as this will only usually be available through the 'good' specialist shops. These arrangements can be very helpful to a beginner oboe player.
THE MAKE OF INSTRUMENT:The makes of oboe you will find available will depend on where you are in the world. Here in the UK we have, Howarth of London, who manufacture a whole range of instruments from student to full professional. Their instruments are excellent. Other oboes readily available in the UK are Loree, Marigaux, Ward & Winterbourne, Buffet and Yamaha, all of which are quality instruments. If you live elsewhere investigate available instruments and check their relative merits.
A final word on the purchase of an oboe, if you don't know exactly what you need then ask someone who can give you informed and unbiased advice. For a beginner oboe player you simply must have a good instrument to start on or you will find the whole experience of learning very dispiriting.
Robert Hinchliffe is a professional oboist, composer, teacher, conductor and music director. This article is based upon over 35 years of both playing and teaching the oboe. If you have found this article helpful and would like to know more, please visit http://www.oboeplaying.co.uk.
Article Source: EzineArticles
|